What is cPanel: Cpanel is the short form of the control panel. Cpanel is used for website hosting. cPanel is a software that facilitates the management of a web hosting server. An American corporation, cPanel LLC has developed the cPanel software. Cpanel is a software that measures the automation tools and graphical interface, which simplifies the process of hosting a website.
There is a vast online search on how to make your website live using cPanel. If you search for it, you will find that most of the searches are making you confused. If you are so, don’t lose hope. Today I am going to show you the step by step procedures on how you can use the control panel to make your website live very comfortably. Stay connected till the bottom of the page. It’s easy and fun.
Contents
There are five simple steps of making a website live using cPanel. Let’s get started.
1) cPanel login URL: domain.com/cpanel
The first step to access control panel is you must have to log in to the system. In the address bar enter your domain address followed by a slash (/), then “cpanel” to log in to your domain’s cPanel. Have a look at Fig 1.0 below.
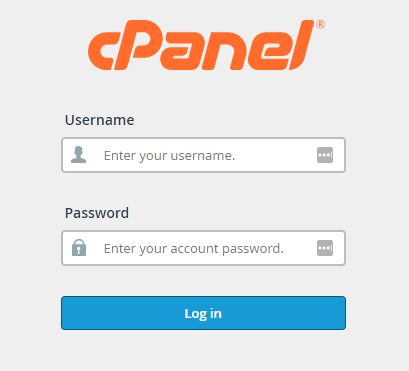
Fig 1.0: Login page of cPanel
Use your authorized username and password to log in. After a successful login to cPanel, you have only four steps left to make your website live.
2) Dashboard:
After a successful login, a dashboard will appear before you as shown in Fig 2.0. The first option should be “File Manager”.
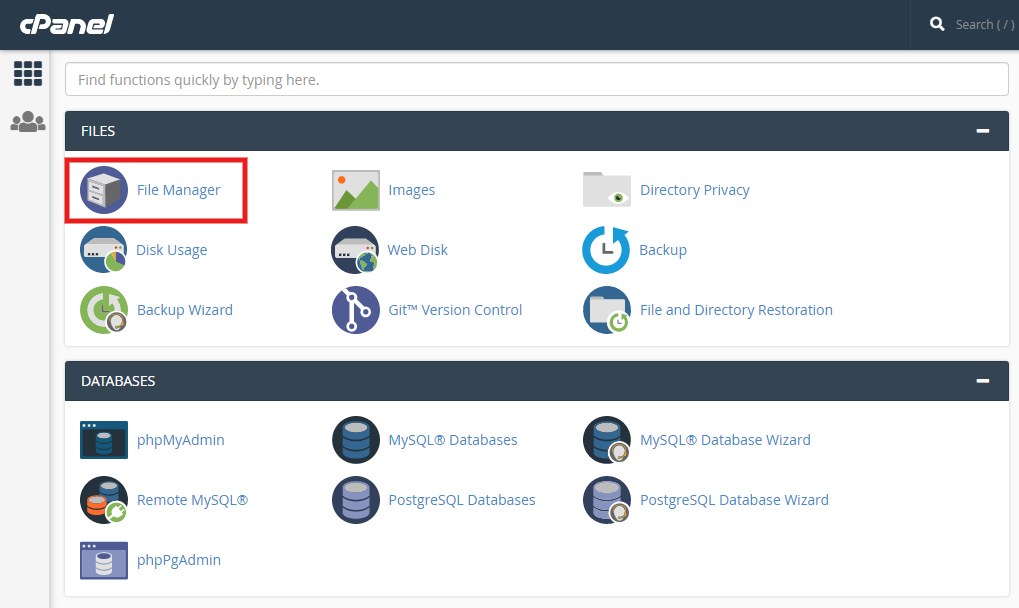
Fig 1.0: Login page of cPanel
Click on that option. It will take you inside the file manager. That means you have completed the second step to make your website live. Only three more steps left to complete the process.
3) Access Public Directory:
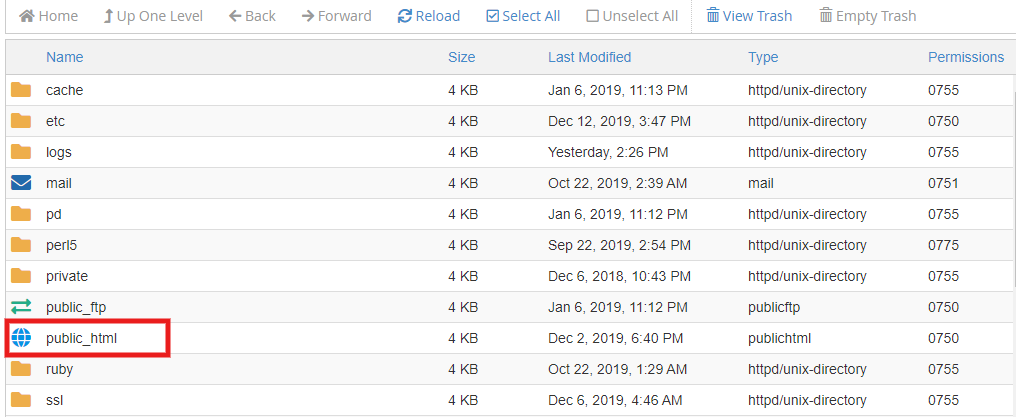
Fig 3.0: Public Directory access
Inside the file manager, on the right side, you will find an icon of the universe, that is showing the name “public_html” as shown in Fig 3.0. There you have to click twice on the icon. If you click on the name, then it will show you the option to rename the directory.
4) Upload Files:

Fig 4.0: Upload option of cPanel.
After entering inside the “public_html” directory, you will find that several options in the above portion of the page are available to access. There is an option named “upload” like the marked portion in Fig 4.0. Click on that option. Upon clicking the icon, you are going to redirect to a new page like the below figure 4.1. In this step, you have to zip your website folders and files. Only ‘.zip’ files are allowed here.
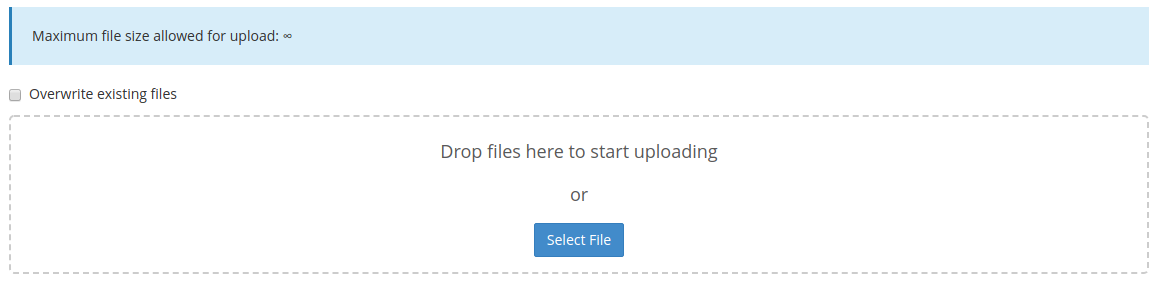
Fig 4.1: Upload website contents.
You can drag the files and drop here or can select files as well. After selecting the files, wait for a while to get your files completely uploaded. The waiting time depends on your internet connection. First, the uploading would be shown in the blue section as below figure Fig 4.2:
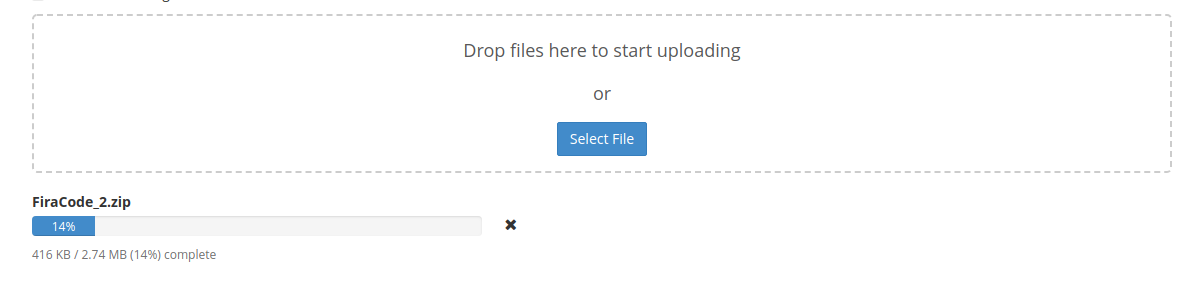
Fig 4.2: Uploading files
Wait till it is uploaded completely. After a successful upload, the blue section will turn into green as shown below in Fig 4.3:

Fig 4 .3: Completion of the upload of the zip file.
5) Extract the files:
After the successful insertion of the zip file, make sure you unzip that zipped file.
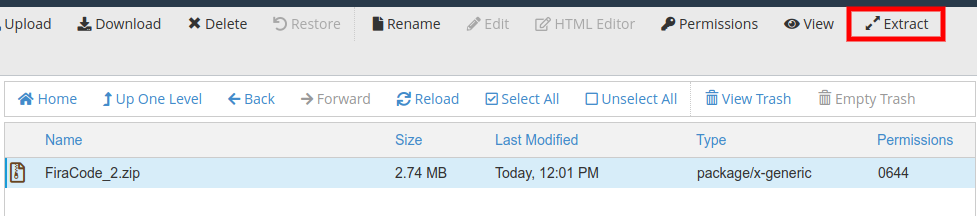
Fig 5.0: Figure to extract the file
Extract the files in the same directory using the ‘Extract’ option marked red in figure Fig 5.0. After completing the extraction, you can keep the zip file or can remove it as well. But, you must have to keep the files in the way that you kept at the time of development. Then access the files as you used while running development. The difference is that you have to write your domain name instead of your local server, followed by the page name. For example, you can use ‘ YourDomainName.xyz/index.html’ to access your “index.html” page. For an overview have a look at the below figure Fig 5.1,

Fig 5.1: Live page view using a domain.
That’s it. Congratulations, your website is live now. Enjoy!!!
How to change cPanel theme:
Cpanel Interface looks different!!! What to do?
Don’t worry. It’s just a style. As I told earlier, I would show you the procedures to change the theme style of the cPanel. The view shown in Fig 2.0 is the newest version of the cPanel. It uses a theme called “Basic”.
You can also get into that. Look for the preference tab in the cPanel dashboard. You can also search for the option ‘Change Style’ in the search bar. The preference tab is available mostly near the bottom. Have a look at the below figure Fig 6.0 and Fig 6.1.
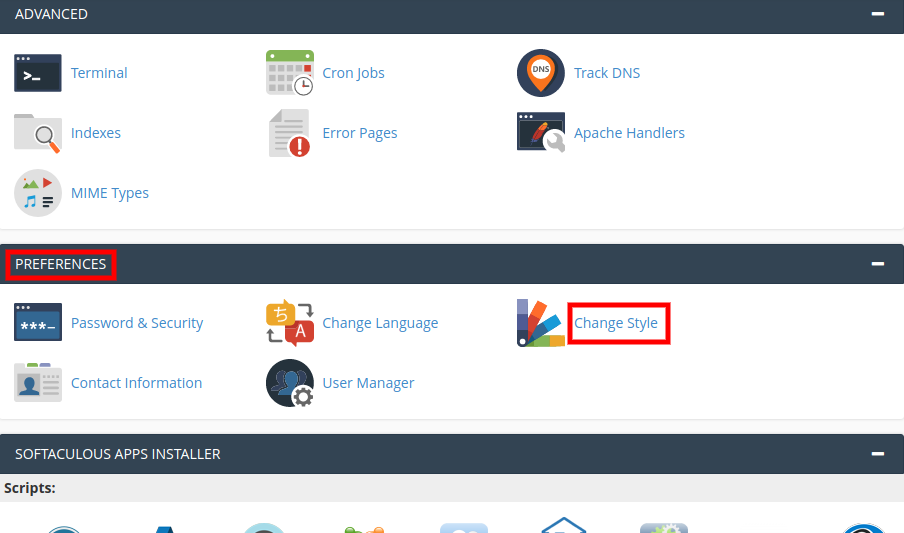
Fig 6.0: Preference settings.
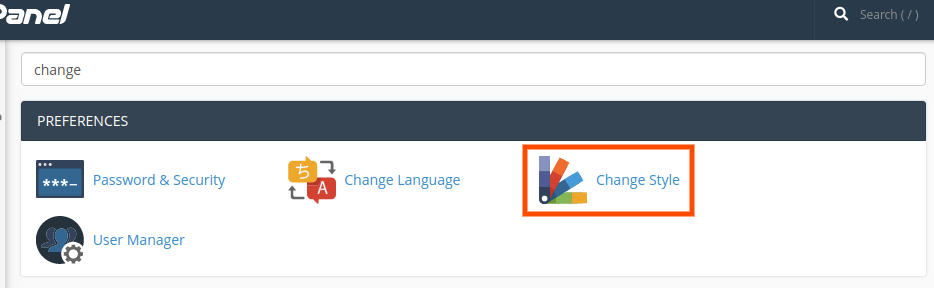
Fig 6.1: Change style option searching using the search bar.
Go to the ’Change Style’ option and you would find different themes available there. You can choose your desired one there and do apply it.
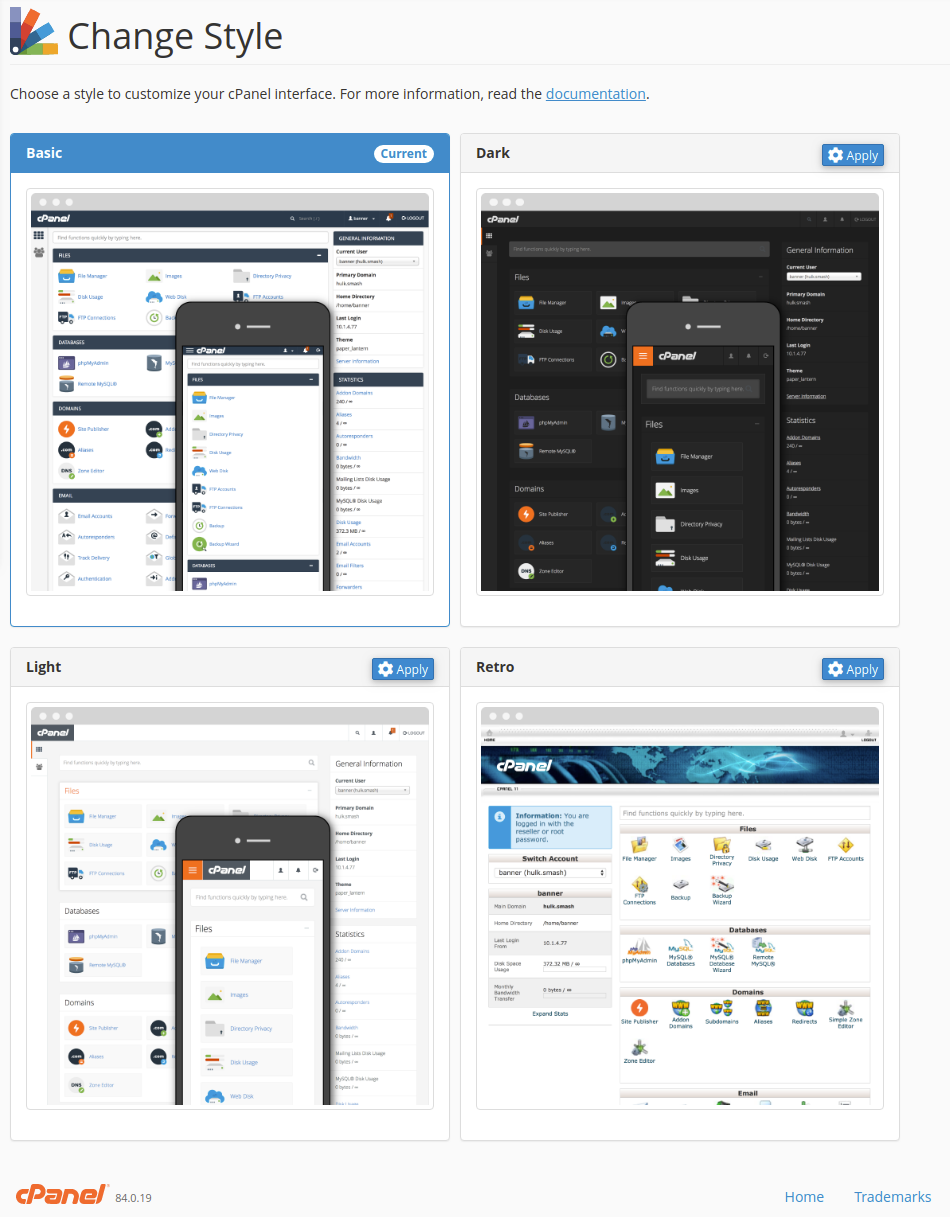
Fig 6.2: Different available themes.
Your cPanel theme can change in this way and you can use any of the available themes of your cPanel.
I hope the information provided above was helpful. Best of luck.
