Are you thinking of developing an e-commerce site? It requires a lot of technical knowledge and time to build up a lucrative e-commerce site. But we are here to help you. Using a cPanel can reduce your installation process in just one click. Don’t you believe me? It’s true. You can minimize a whole bunch of tiredness of at least a month to a minute only. Simple instructions are below:
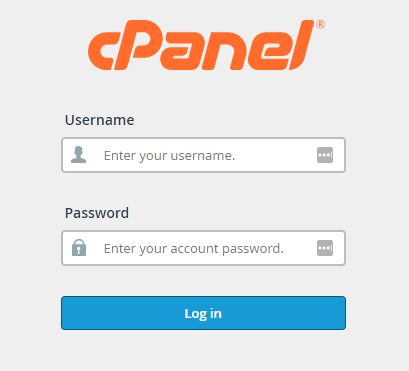
The first step is to log in to the cPanel. In the address bar, enter your domain address followed by a slash (/), then “cpanel” to log in to your domain’s cPanel. Your URL should look like “ domain.com/cpanel”. Have a look at Fig 1.0 below.
Fig 1.0: Login page of cPanel
Use your authorized username and password to log in. After a successful login to the cPanel, you will see the dashboard of cPanel. cPanel dashboard looks like the figure Fig 1.1 given below.
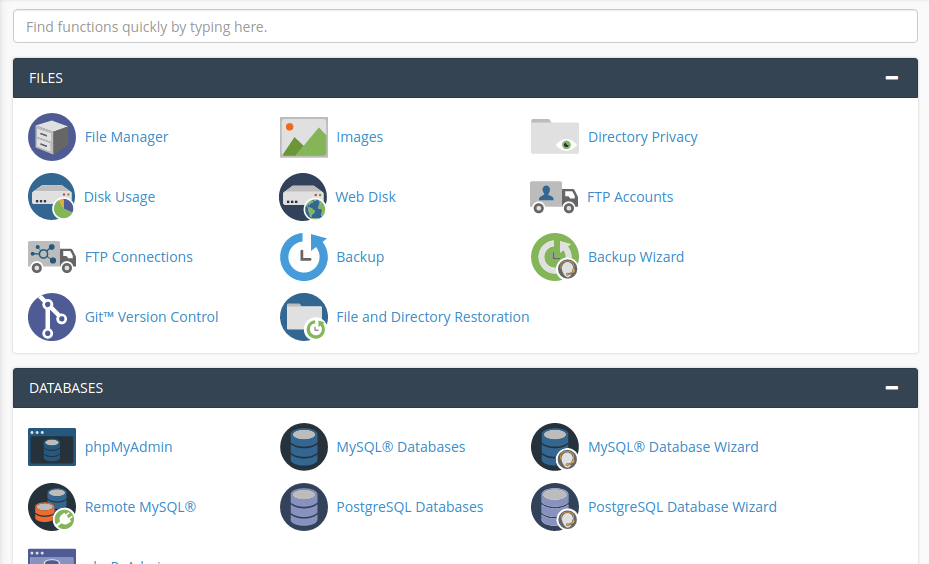
Fig 1.1: Login page of cPanel
Now, search for ‘ Softaculous Apps Installer’ in the search bar of the dashboard like the below figure Fig 1.2.
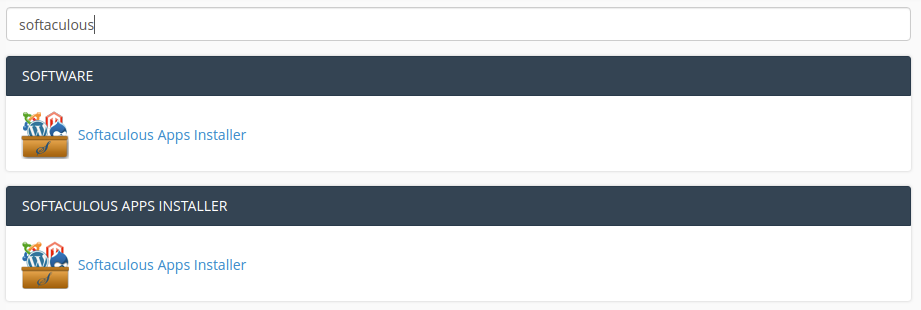
Fig 1.2: Softaculous Apps Installer searching from cPanel dashboard.
Or you can also search for it manually. Scroll down a bit to find the section named ‘Software.’ In that section, you will see the “Softaculous Apps Installer” option. Figure Fig 1.3 is showing an overview of this:
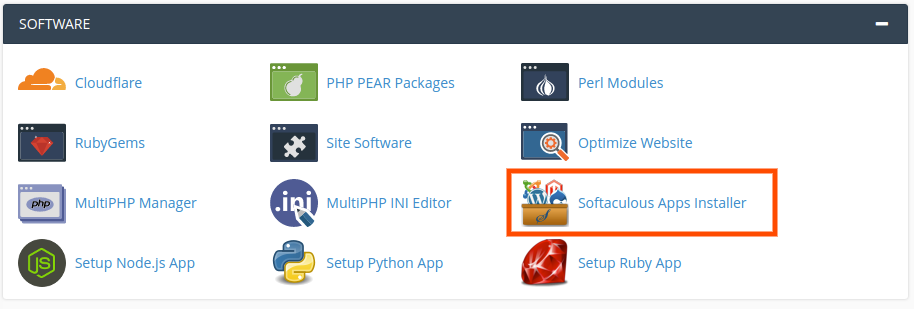
Fig 1.3: Software section of the cPanel dashboard.
Now, click on the option “Softaculous Apps Installer.” This click will take you to this software’s dashboard as shown in figure Fig 1.4.
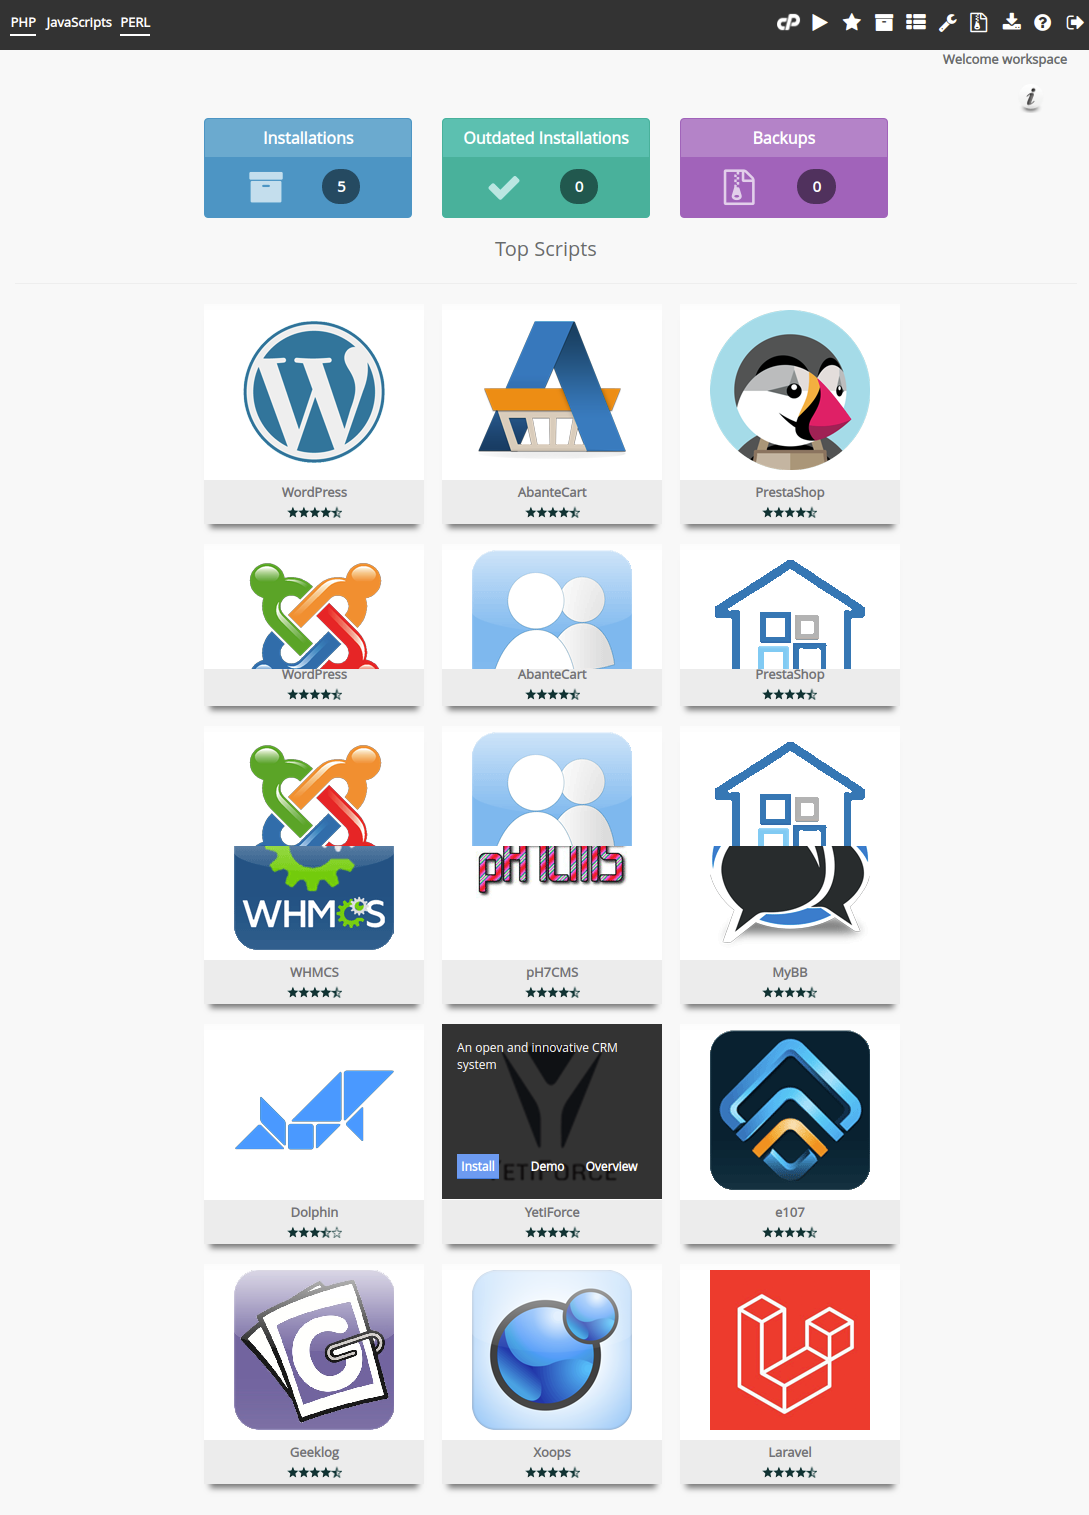
Fig 1.4: Application packages of Softaculous
There are different packages available on that page. Among all the available packages, you will find a package for the AbanteCart installer. Have a look at the below figure Fig 1.5.
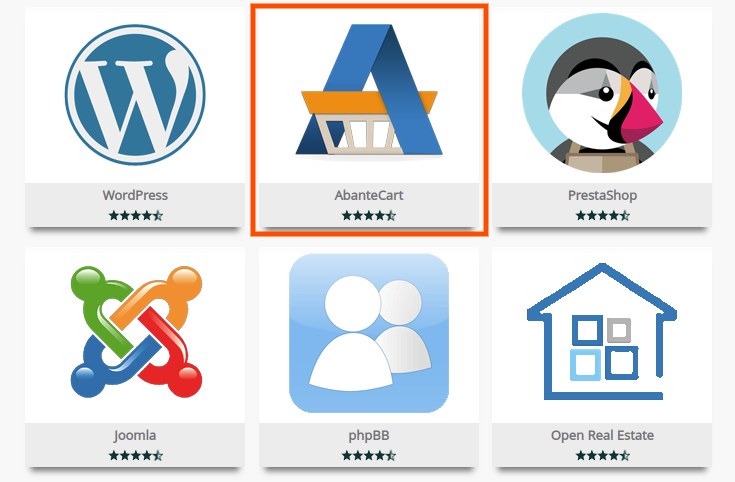
Fig 1.5: AbanteCart installer
Hover over the installer, and you will find an install option as shown in Fig 1.6 figure. You can also enter into the AbanteCart install option by clicking on the package showing “AbanteCart.”
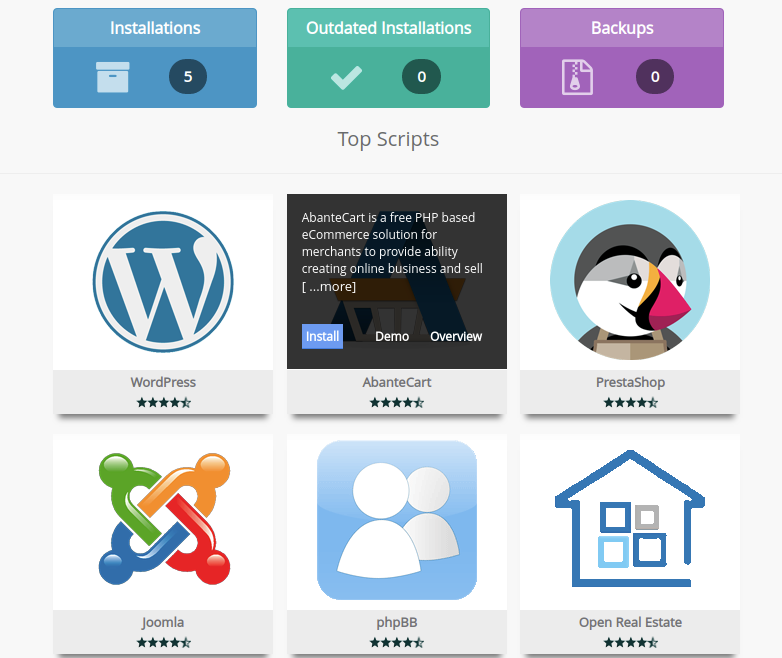
Fig 1.6: Installation option of AbanteCart.
After clicking on the ‘Install’ tab, it will take you to the configuration process like Fig 1.7 figure.
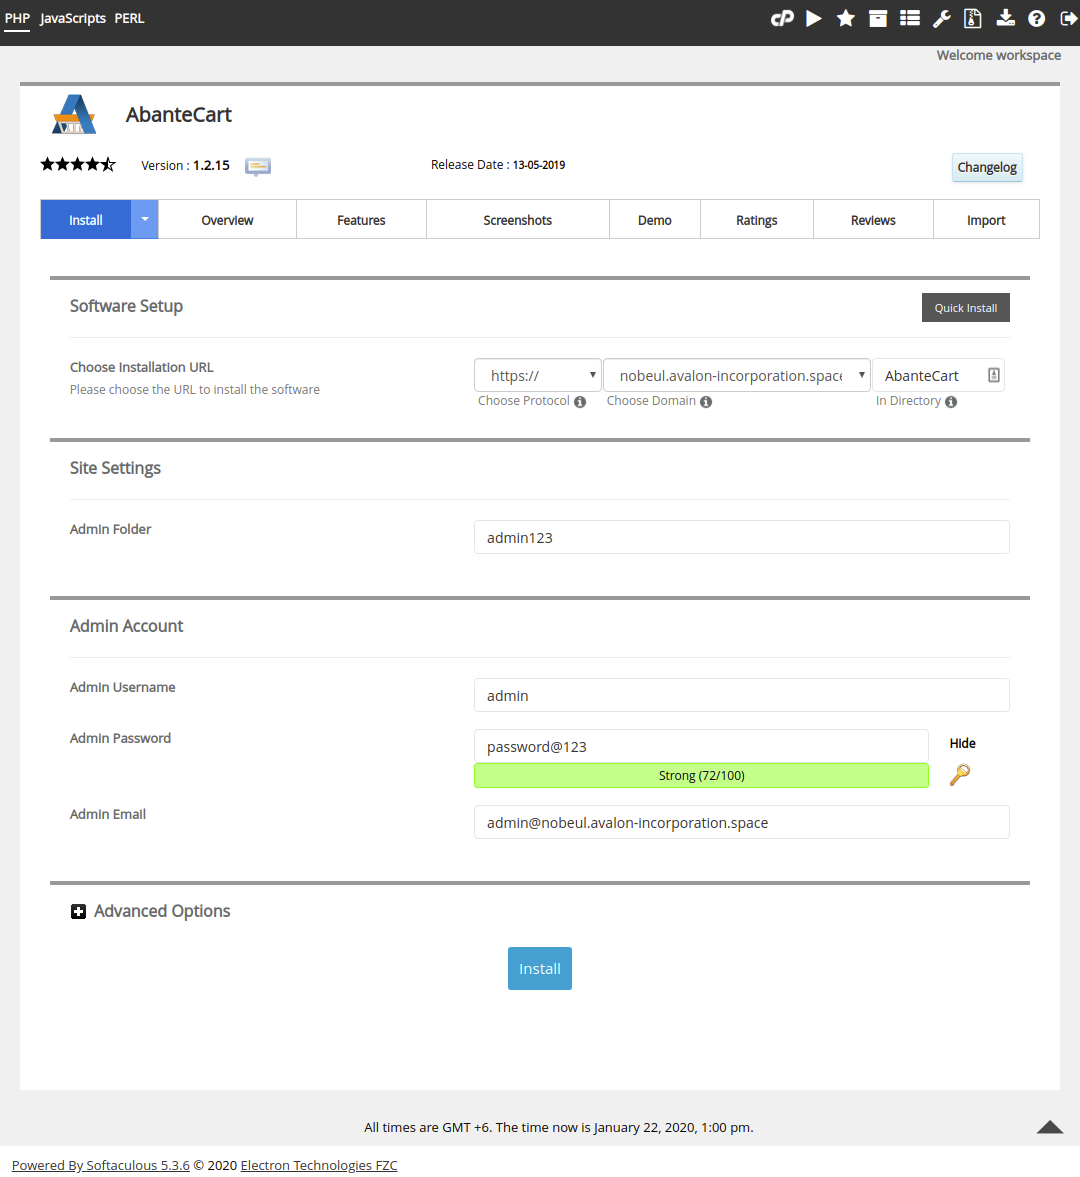
Fig 1.7: Configuration of installation.
There choose the URL where you want to install the AbanteCart project. Choose protocol and domain. There is an option to select a specific directory for installation. Another option will show you advanced options. It’s optional. You can choose a backup location, automated backup, or backup rotation. You can also let it as it is. Then click on the ‘Install’ button. Then, wait for a while to download the package. The waiting time is dependent on your internet connection. There is an overview shown below. Have a look at figure Fig 1.8.
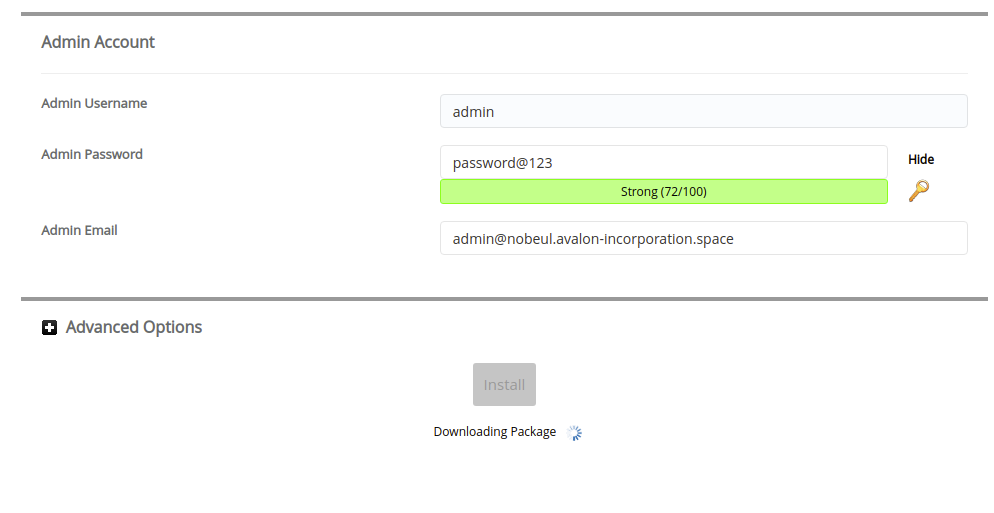
Fig 1.8: AbanteCart package downloading.
After a successful download, the package will get installed into your given domain. Then a notification message will send to you with a link to congratulate you.
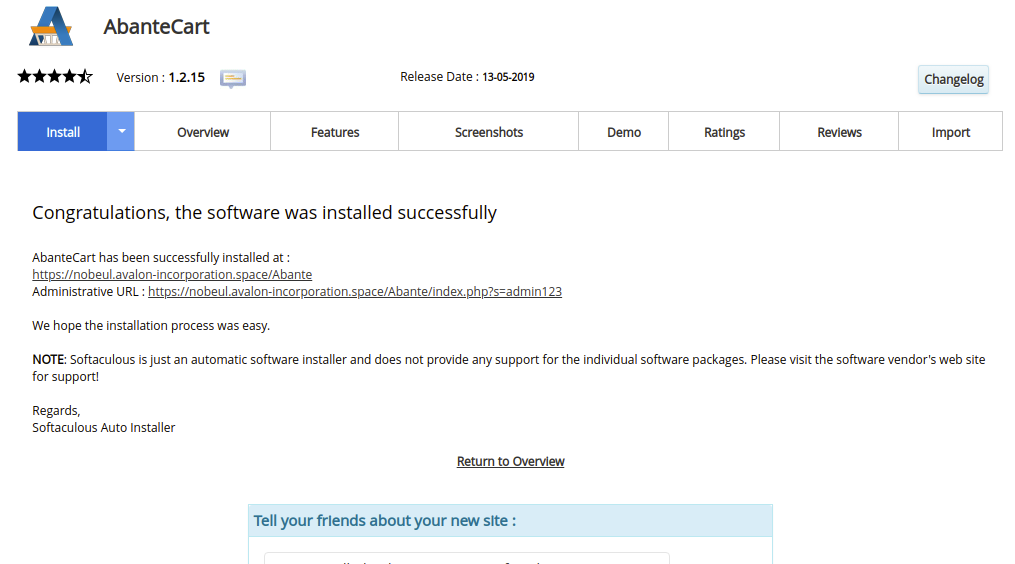
Fig 1.9: Successful completion message on AbanteCart installation.
Now you can visit your AbanteCart homepage clicking in the link. The overview of the homepage of the AbanteCart is shown below in figure Fig 2.0.
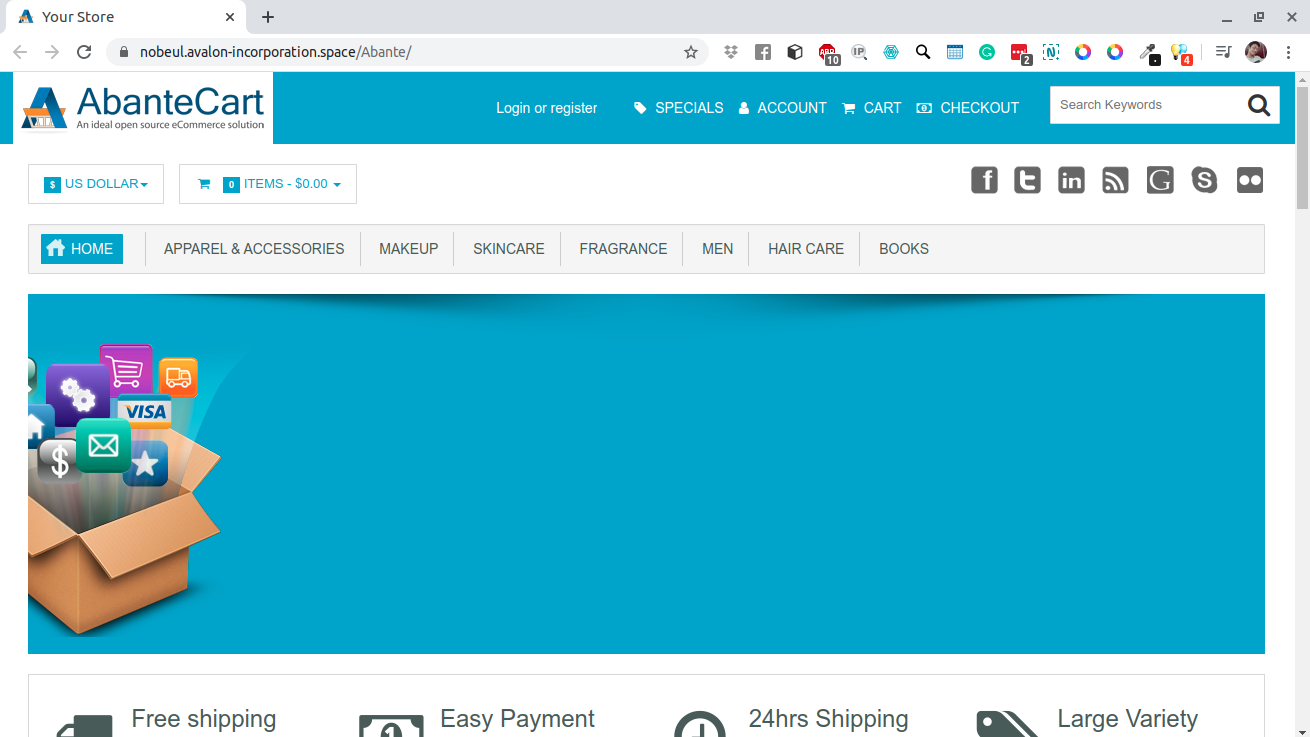
Fig 2.0: AbanteCart homepage.
Welcome to AbanteCart. You have completed the AbanteCart installation in your domain. Now, customization is your choice. You currently have a working e-commerce website. Take your project a long way.
Best wishes to you.

